
How to Install a Cremone Bolt on Your Door: A Step-by-Step Guide

Cremone bolts, also known as finger bolts or rod bolts, are a stylish and secure locking mechanism often used in doors for added elegance and functionality. They provide a classic look while offering enhanced security and ease of use. If you're considering installing a Cremone bolt on your door, this guide will walk you through the process step by step.
- Drill and drill bits
- Screwdriver
- Measuring tape
- Pencil
- Chisel
- Wood screws
- Level
- Wood filler (if needed)
- Safety glasses and gloves
2. **Mark the Placement:** Use a measuring tape and pencil to mark where the Cremone bolts will be installed. Generally, the top and bottom bolts should be aligned vertically along the door’s edge. Make sure the placement is symmetrical and aligns with the strike plates on the door frame.
Step 3: Drill Holes for the Cremone Bolts
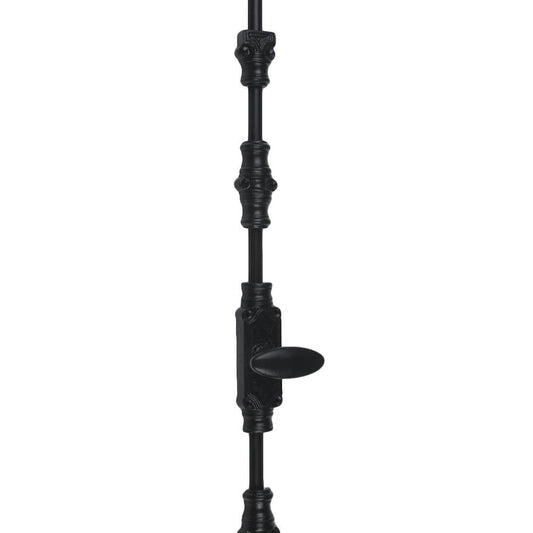
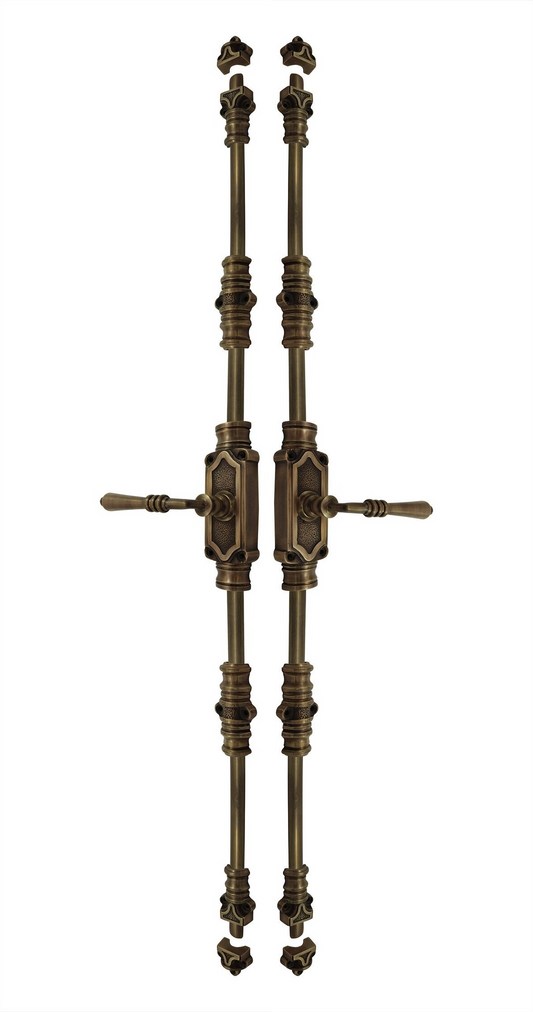
1. **Top and Bottom Rod Holes:** Use a drill with the appropriate bit to create holes for the top and bottom rods. The holes should be the same diameter as the rods and positioned according to the markings.
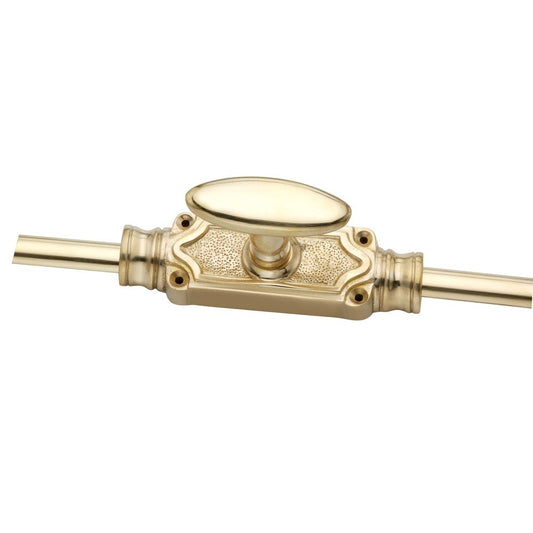
2. **Handle and Lock Holes:** Drill holes for the handle and lock mechanism, ensuring they are aligned with the rods. The handle should be positioned at a comfortable height, typically about 36 inches from the floor, but this can vary based on personal preference.
- Tools and Materials You'll Need:
- Drill and drill bits
- Screwdriver
- Measuring tape
- Pencil
- Chisel
- Wood screws
- Level
- Wood filler (if needed)
- Safety glasses and gloves
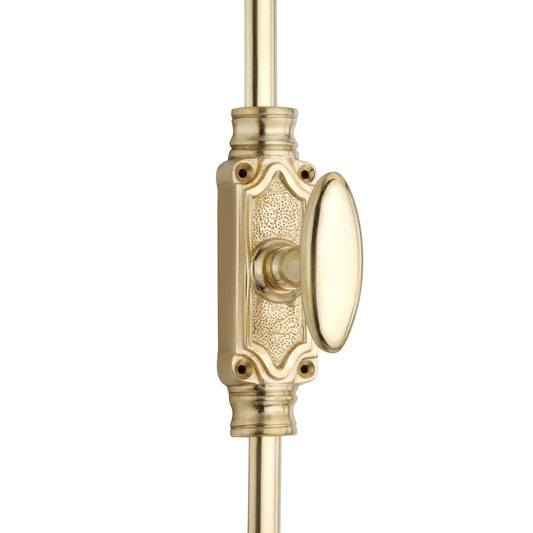
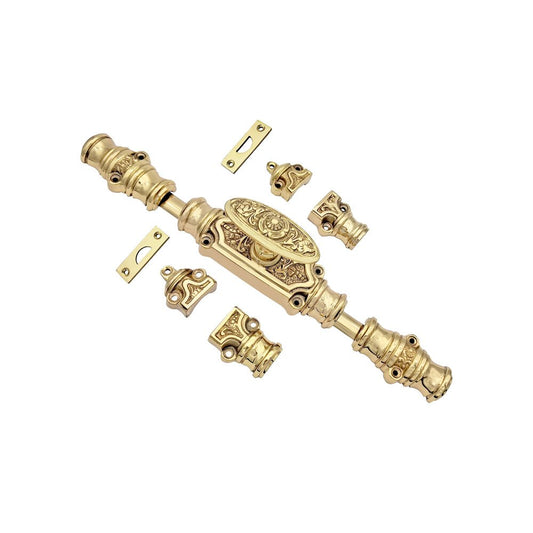
- Step 1: Choose the Right Cremone Bolt
- Step 2: Prepare the Door
2. **Mark the Placement:** Use a measuring tape and pencil to mark where the Cremone bolts will be installed. Generally, the top and bottom bolts should be aligned vertically along the door’s edge. Make sure the placement is symmetrical and aligns with the strike plates on the door frame.
Step 3: Drill Holes for the Cremone Bolts
1. **Top and Bottom Rod Holes:** Use a drill with the appropriate bit to create holes for the top and bottom rods. The holes should be the same diameter as the rods and positioned according to the markings.
2. **Handle and Lock Holes:** Drill holes for the handle and lock mechanism, ensuring they are aligned with the rods. The handle should be positioned at a comfortable height, typically about 36 inches from the floor, but this can vary based on personal preference.

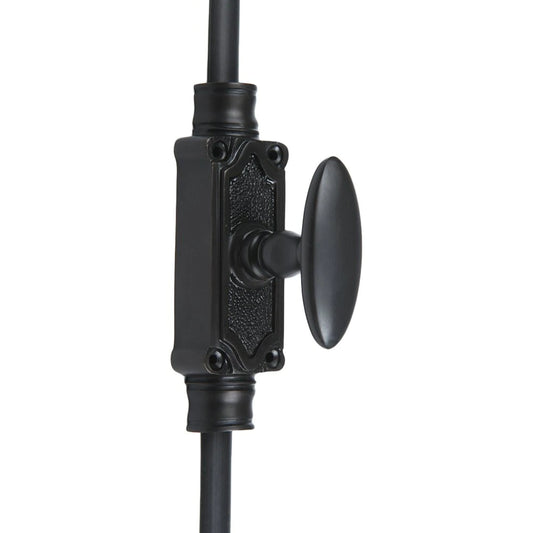
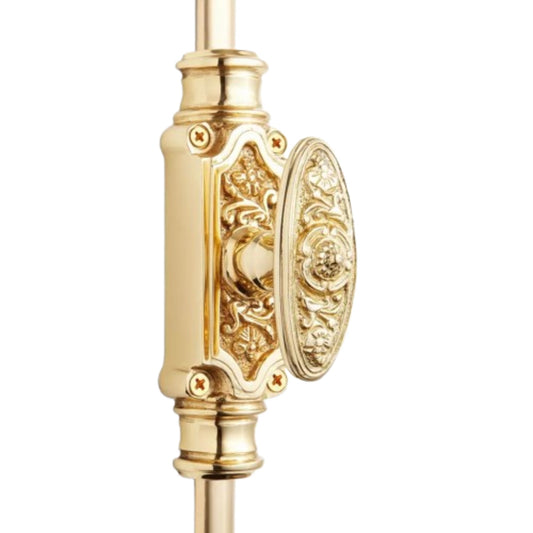
- Step 4: Install the Cremone Bolt Mechanism
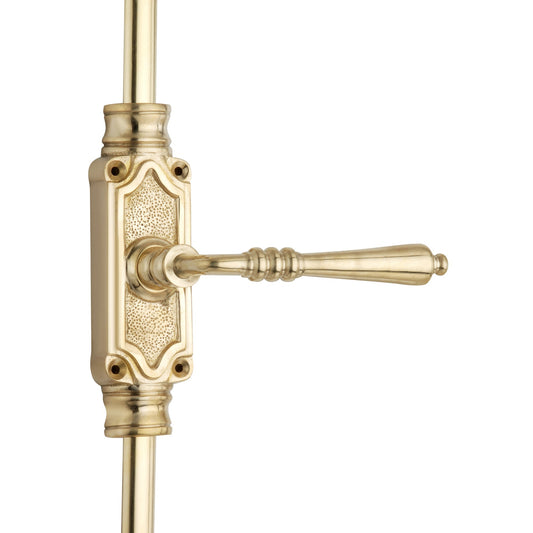
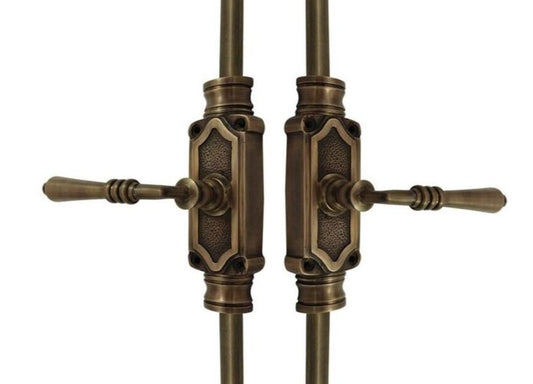
2. **Install the Handle and Lock:** Attach the handle and lock mechanism to the door, ensuring it aligns with the rods. Use screws to secure them firmly. Test the handle to ensure it operates smoothly and engages the rods correctly.
3
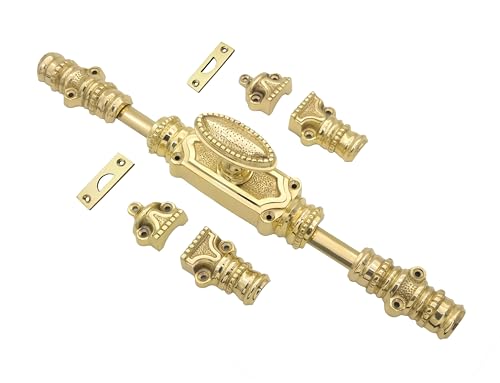
**Fit the Strike Plates:** Install the strike plates on the door frame where the rods will engage. This ensures the bolts lock into place properly. Align the strike plates with the rods and mark the screw holes. Drill the holes and screw the strike plates into place.
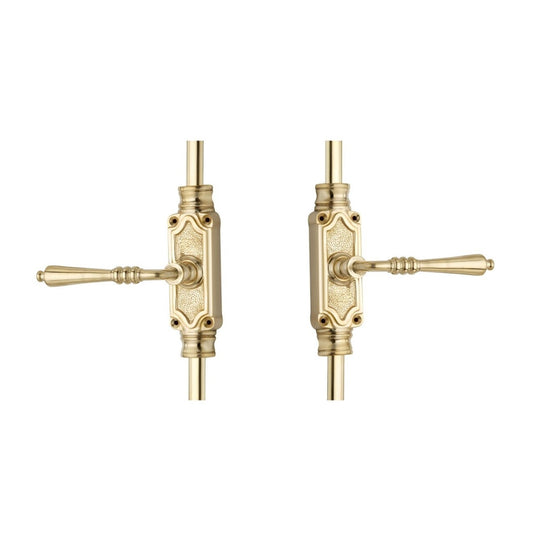
- Step 5: Test the Mechanism
2. **Adjust if Necessary:** If the rods don’t align properly with the strike plates or if the handle feels stiff, adjust the placement of the rods or strike plates as needed. Make sure everything is aligned correctly and that the mechanism operates smoothly.
- Step 6: Final Touches
2. **Finish and Clean:** If you had to do any wood filling or sanding, touch up the area with paint or stain as needed. Clean up any debris from the installation process.
3. **Safety Check:** Ensure that the door locks and unlocks properly and that the mechanism is securely in place. Check that the handle is comfortable and that the bolts secure the door firmly.
- Tips and Tricks:
- **Use a Level:** Ensure that all components are level to avoid misalignment issues.
- **Read the Instructions:** Follow the manufacturer’s instructions carefully, as installation procedures can vary between different Cremone bolt models.
- Conclusion
Enjoy your newly upgraded door and the classic charm that a Cremone bolt brings!
---
Feel free to adjust the post based on specific details about your Cremone bolt set or any additional tips you may have.
Tags:
